Showing posts with label craft. Show all posts

Monday, 11 November 2013

Tissue Paper Pompoms for Party Decoration - Cheap, Practical, EASY and Effective!

If you have seen Pinterest you have probably seen the tissue paper pompom tutorials.

This is another one. But with less precision skill and more Give It A Go and Win attitude.

These pompoms are crazy-easy to make, take next-to-no skill, are super-quick and have that WOW factor at parties.

Seriously.

You are going to need 3 simple things:

  1. Tissue paper (10 sheets per large pompom)
  2. Hanging string/twine/chord/fishing nylon
  3. A fairly big pair of scissors
The first pompoms I made were for a Halloween party at my daughter's school. It was a big hall with children's art on already displayed on the walls so I thought we would benefit from some large-scale decorations. I whipped up 5 huge pompoms with the tissue paper I bought from Amazon:


 This is how:


  1. Stack up 10 sheets of your tissue paper so they are neat. If you are creating a single-colour pompom go straight to step 2, but if you are looking for a rainbow effect then you will need to sort your sheets into the right order.

    The colours on the bottom and the top will end up on opposing sides of your pompom so that makes it simple to make a rainbow effect: Bottom - Red, Orange, Yellow, Green, Blue, Indigo, Violet - Top with some suitable additional pages in-between to make up the 10 sheets.

  2. Time to concertina fold. I didn't measure a thing and sometimes the pages went skew, don't worry at all, just keep on folding! Keep running your hands along your concertina, flattening those fold edges as you go.
  3. When you reach the end of the paper (wasn't that easy?) fold your concertina in half.
  4. Using the middle point tie your hanging string around the centre as tight as you can. I made my strings hang in random directions, wherever the knot landed basically, but if you want all of yours to hang in the same pattern then pay attention:
    - If you want your rainbow to in vertical stripes around the pompom then make sure the knot is on the flat top of your folded concertina
    - If you want horizontal rainbow stripes then ensure the knot is on a skinny side-edge of your concertina


  5. Trimming the tips. Due to my inaccuracy and speed in folding I felt that snipping off two edges to make a point was probably ideal. Do this on both ends; another variation is to cut rounded edges which gives a lovely flowery rather than fluffy effect  (at the end of this post you will see a picture of one I forgot to cut so you can see that "style" too)


  6. Now for fluffing. Open out your concertina and then gently lift the first piece of tissue paper upward. Keep gently tugging so the first piece gets as close to the centre as you can manage.

    *NOTE* if your tissue paper tears don't worry about it, you really won't notice it, I did it on every single pompom at some point and they still looked gorgeous. Don't sweat the small stuff.


  7. Now its up to you whether you want to do the left side and then the right or one matching page from each half but fluff up 5 sheets on the right and the left concertina fans. You will know you are doing the right thing the moment you get started, trust me. Fluff, pull and tweak until you have a gorgeous half ball.


  8. Now flip it over and repeat.  Yes, you can lean the first side on your working surface, you will fluff the whole ball one last time before you hang it and get out any squashed sheets then.
  9. Hang your pompom and make last fluffing/adjustments.
  10. Admire your amazing artistry. You are fabulous and your party is going to be gorgeous! All your friends will ask where you got them. Some will suggest you should go into business.

    You are Master of the Party.


Epic.


Now if you want to SAVE your pompoms rather than responsibly recycling them in the paper waste then pay attention, it CAN BE DONE!

  1. Working from the middle pages (so the last pages you would have lifted when fluffing) tug gently outward.
  2. Then do the same with the second one pulling in the same direction. Keep going until they are all bent in a similar direction.
  3. Now run your fingers in a gentle pinching motion above and below each of the fold lines  and you will feel the pages start to fall into a neater place with each other.
  4. When you have a fairly neat concertina again collapse it up, fold in half and store it away! 
  5. If you are a cleverclogs you may want to print a photo of your pompom and elastic/tie it to your folded concertina so you know what it looks like when fluffed up and if it will work for your next party colour scheme.
    You know it makes sense.


Here are some I made for my friend's baby shower:


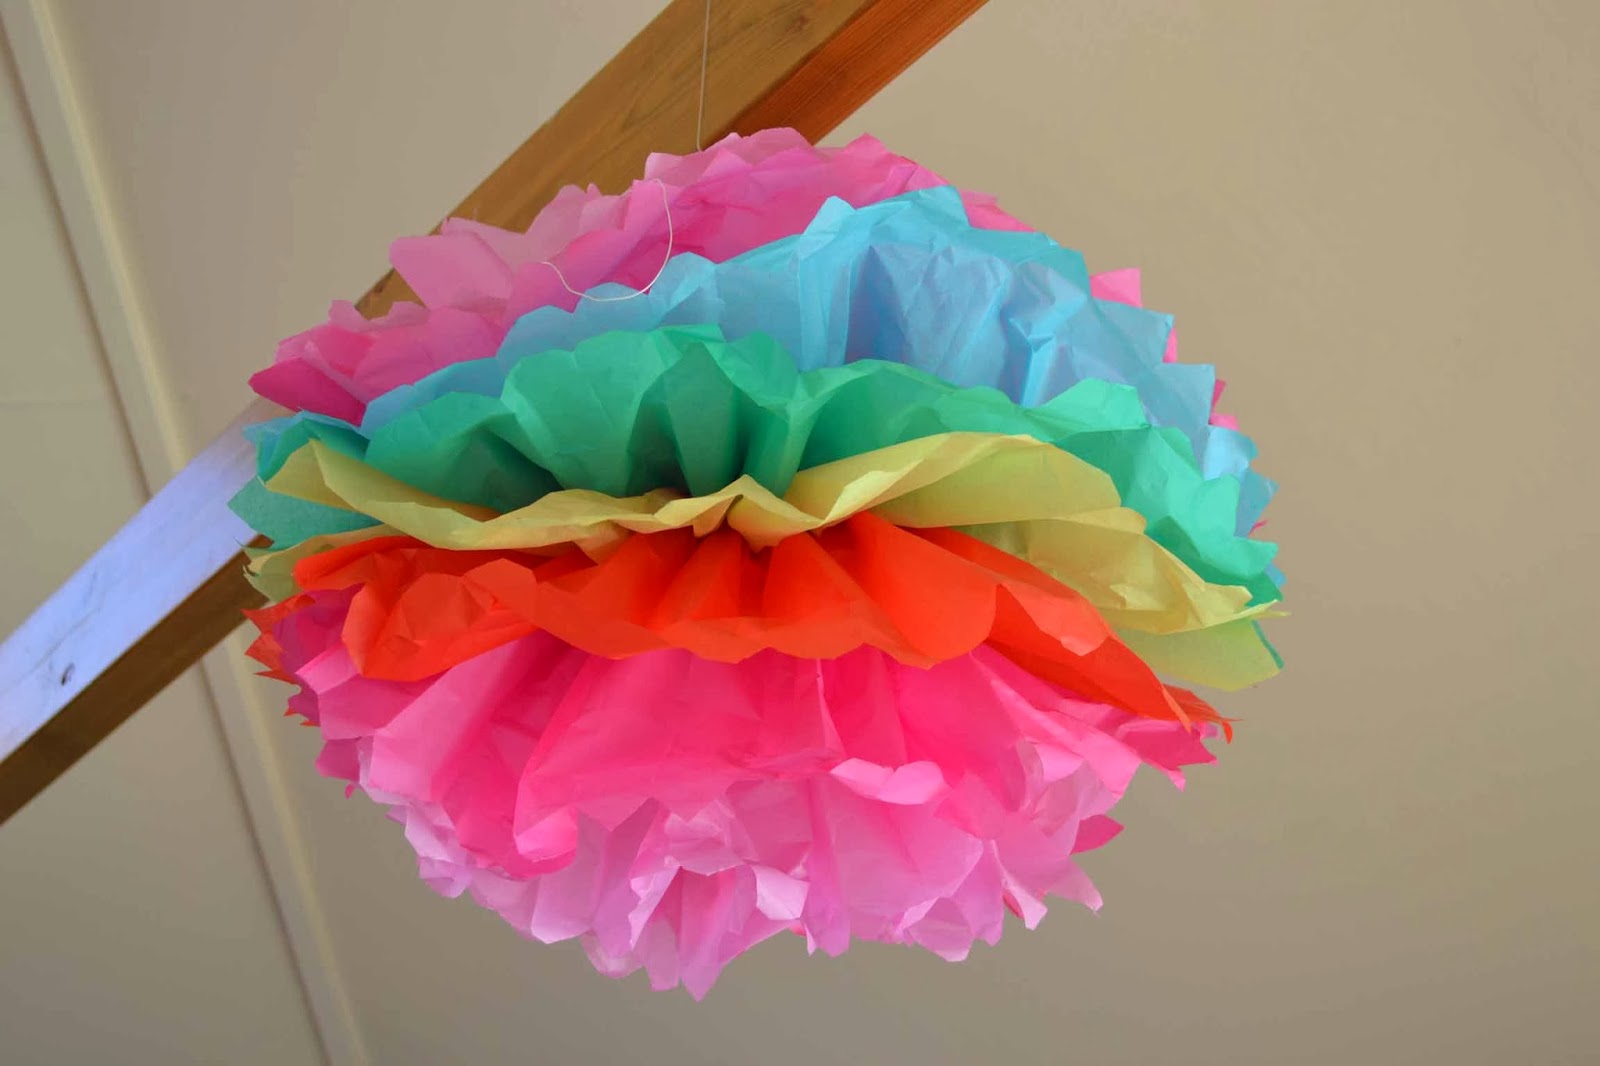
And this is one where I forgot to trim the edges into a point before fluffing:
It seems to have had all the fun taken out of it...
 
This is a Pinterest example of the rounded edges.


So there you have it. They really are super simple. No they may not be perfect, but seriously, who is checking for accuracy at your party? 
Enjoy it and create some fabulous statement pieces. You won't regret it!


I am Tracey and I am proud that I can make a cheap, beautiful Tissue Paper Pompom in under 20 minutes with only 3 things!


Sunday, 28 July 2013

Part 1 of 2: The Hawaiian Lei - Simple Hawaiian Costume for Kids On a Budget Against the Clock

So my Clever Daughter's school decides to have a fun dress up and learn kind of day called International Day.  The country designated to her year is China, but they can come dressed up as any country you like for a bit of variety.  The first words out of many moms' mouths were "I'll just get a Chinese dress off Amazon" and I don't blame them, that is usually me, but I can't imagine another use for a Chinese dress. I bought a witch outfit for Roald Dahl day, but that's Halloween taken care of too. I also bought a bat outfit for the Christmas play (don't ask) and that's...for...Halloween...too... Hmm.

I Will Do This Myself.

I considered a range of countries
  • American Cowgirl - I would have to buy boots!
  • Native American - I would have to buy boots and a skirt
  • South African - All I have is a flag and I feel it might be a bit disrespectful to wear an actual flag a dress
  • Hawaiian - I need a lei (the flower necklace) and a grass skirt.  But I did ponder just making the lei and dress her in shorts and a shirt for a modern surfer look.

Well for the purposes of not having to buy something expensive for a once-off event the Hawaiian girl was well in the lead. That Is Decided.

What I used for the lei:
  • So I bought a pack of multi-coloured tissue paper from Poundworld (£1)
  • I bought some embroidery thread (Poundworld £1)
  • I also own a needle set with a tapestry needle, but let's assume you buy a pack of needles from your friend and mine, Poundworld (£1

Now to make a Hawaiian lei!  I googled a bit and found this gorgeous website Dream a Lil' Dream and her fab homemade lei tutorial.  Simple and clear with lovely photographs, I could not go wrong.

Except I had flimsy tissue paper instead of crepe paper which is thicker and more sturdy.

Keep On Going!

So my lei came out slightly differently but I am so proud of it and Jenny loved it. And the best part was that it only took about 30 minutes.

Here's how:

  • My tissue paper pack was a sort of rainbow pack with each sheet a different colour.  I thought a rainbow effect would be pretty so I stacked the sheets together and then cut a 2 inch (approximately!) strip and ended up with about 11 colours which I then reshuffled into a rainbow-style colour graduation.  If you want a single colour then you will need to make multiple strips of the same width in the same colour.


  • I measured the length that I wanted the lei to be by draping the embroidery cotton around my neck and shortening it for my daughter. Now you will need to double that amount of thread for strength. 
  • Now thread the tapestry needle and take that to the centre point of the thread.
  • Tie the two ends together in a strong, bulky knot. The knot has to withstand a bit of pressure as the tissue paper pushes against it and you don't want it to just tear through.
  • Start stitching down the centre of your first strip of paper making stitches about 1cm long.
  • As you go, start bunching the paper backward toward the knot. Sometimes the paper may fold in on itself or look a bit wonky, just give it a gentle tug as if you were straightening someone's bow tie. Keep twisting the paper gently so it spirals around the cotton, this makes the effect much fuller and prettier.
  • As one piece of paper ends, start on the next in a continuous stream.

Keep going... almost there!

  • Once you have filled the length of the thread check that you are happy with the density of your lei. If you feel it's too stuffed with paper, take a sheet off and spread the rest around, or if it's too loosely covered you will need to add more paper or consider making the lei shorter.

Finished threading, just need to tie a knot.

  • Now snip off the needle and tie the two ends of the lei together as closely as you can so there isn't a noticeable gap. You want to achieve the appearance of an unending circle of flowers.
The completed lei.

Clever Daughter loved it and managed to wear it all day. Even now it is in the dress up box still looking pretty good, if a little squashed.

I am Tracey, and I know the secret to making a pretty Awesome Hawaiian lei.

**In my next post find out how I made a grass skirt.**