Showing posts with label party. Show all posts

Monday, 11 November 2013

Tissue Paper Pompoms for Party Decoration - Cheap, Practical, EASY and Effective!

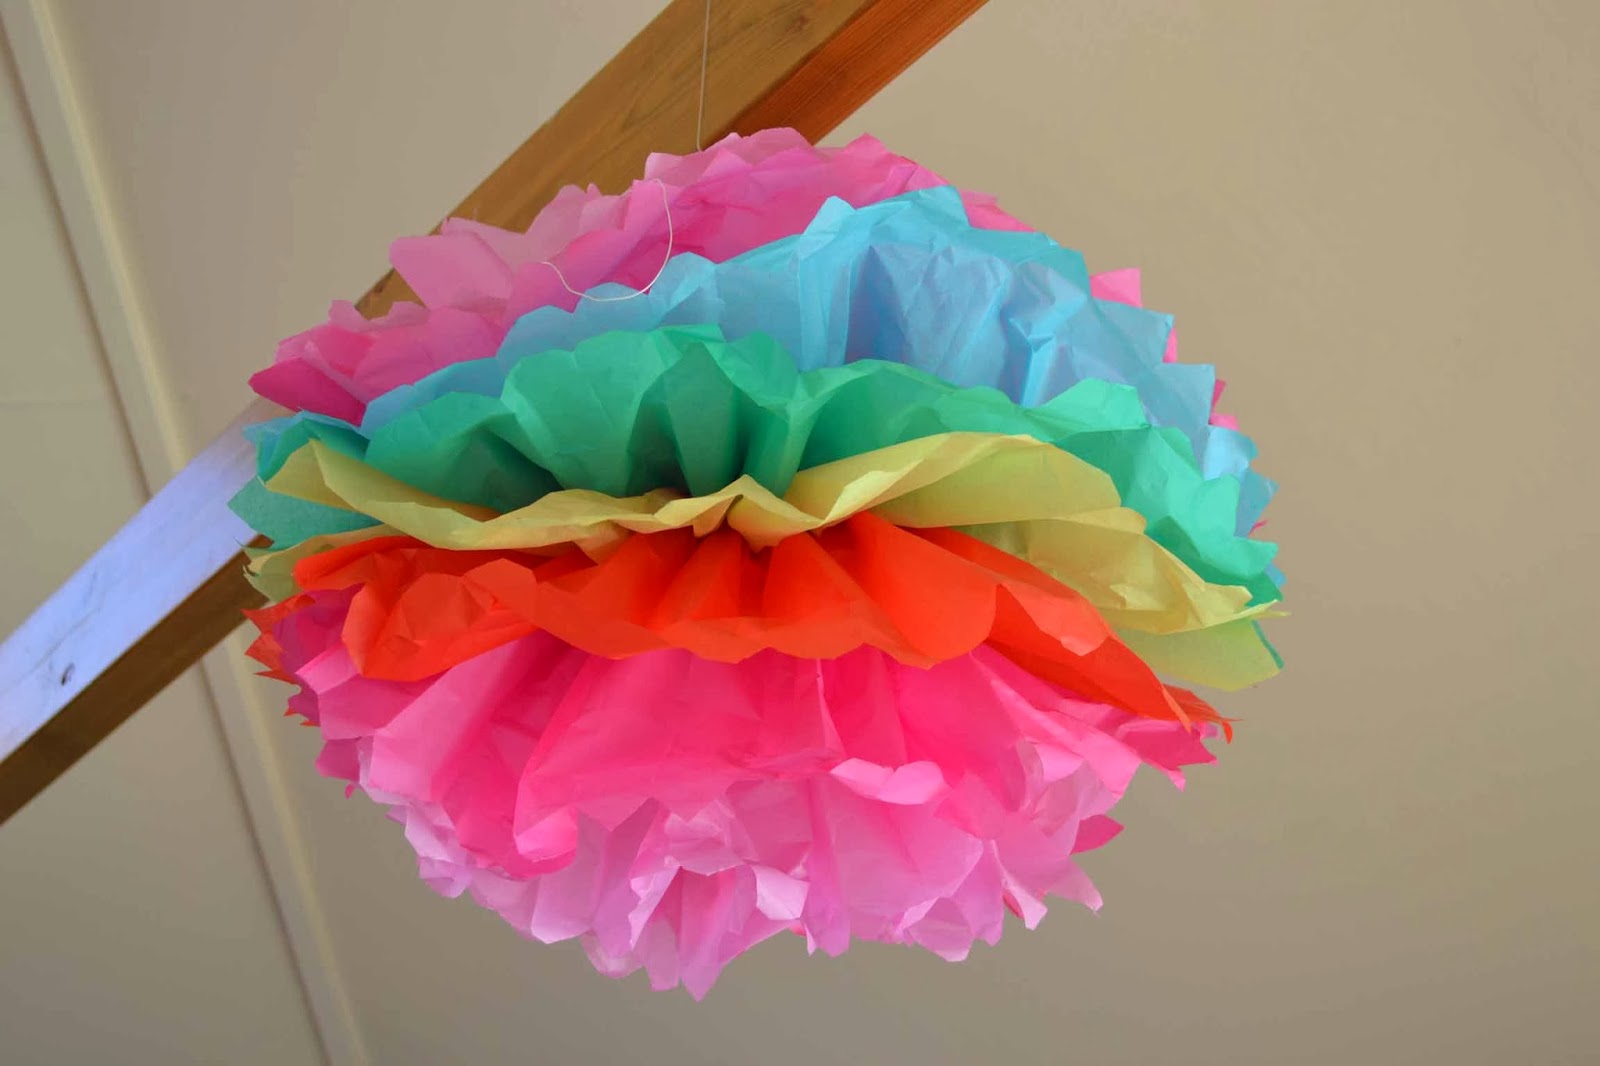
If you have seen Pinterest you have probably seen the tissue paper pompom tutorials.

This is another one. But with less precision skill and more Give It A Go and Win attitude.

These pompoms are crazy-easy to make, take next-to-no skill, are super-quick and have that WOW factor at parties.

Seriously.

You are going to need 3 simple things:

  1. Tissue paper (10 sheets per large pompom)
  2. Hanging string/twine/chord/fishing nylon
  3. A fairly big pair of scissors
The first pompoms I made were for a Halloween party at my daughter's school. It was a big hall with children's art on already displayed on the walls so I thought we would benefit from some large-scale decorations. I whipped up 5 huge pompoms with the tissue paper I bought from Amazon:


 This is how:


  1. Stack up 10 sheets of your tissue paper so they are neat. If you are creating a single-colour pompom go straight to step 2, but if you are looking for a rainbow effect then you will need to sort your sheets into the right order.

    The colours on the bottom and the top will end up on opposing sides of your pompom so that makes it simple to make a rainbow effect: Bottom - Red, Orange, Yellow, Green, Blue, Indigo, Violet - Top with some suitable additional pages in-between to make up the 10 sheets.

  2. Time to concertina fold. I didn't measure a thing and sometimes the pages went skew, don't worry at all, just keep on folding! Keep running your hands along your concertina, flattening those fold edges as you go.
  3. When you reach the end of the paper (wasn't that easy?) fold your concertina in half.
  4. Using the middle point tie your hanging string around the centre as tight as you can. I made my strings hang in random directions, wherever the knot landed basically, but if you want all of yours to hang in the same pattern then pay attention:
    - If you want your rainbow to in vertical stripes around the pompom then make sure the knot is on the flat top of your folded concertina
    - If you want horizontal rainbow stripes then ensure the knot is on a skinny side-edge of your concertina


  5. Trimming the tips. Due to my inaccuracy and speed in folding I felt that snipping off two edges to make a point was probably ideal. Do this on both ends; another variation is to cut rounded edges which gives a lovely flowery rather than fluffy effect  (at the end of this post you will see a picture of one I forgot to cut so you can see that "style" too)


  6. Now for fluffing. Open out your concertina and then gently lift the first piece of tissue paper upward. Keep gently tugging so the first piece gets as close to the centre as you can manage.

    *NOTE* if your tissue paper tears don't worry about it, you really won't notice it, I did it on every single pompom at some point and they still looked gorgeous. Don't sweat the small stuff.


  7. Now its up to you whether you want to do the left side and then the right or one matching page from each half but fluff up 5 sheets on the right and the left concertina fans. You will know you are doing the right thing the moment you get started, trust me. Fluff, pull and tweak until you have a gorgeous half ball.


  8. Now flip it over and repeat.  Yes, you can lean the first side on your working surface, you will fluff the whole ball one last time before you hang it and get out any squashed sheets then.
  9. Hang your pompom and make last fluffing/adjustments.
  10. Admire your amazing artistry. You are fabulous and your party is going to be gorgeous! All your friends will ask where you got them. Some will suggest you should go into business.

    You are Master of the Party.


Epic.


Now if you want to SAVE your pompoms rather than responsibly recycling them in the paper waste then pay attention, it CAN BE DONE!

  1. Working from the middle pages (so the last pages you would have lifted when fluffing) tug gently outward.
  2. Then do the same with the second one pulling in the same direction. Keep going until they are all bent in a similar direction.
  3. Now run your fingers in a gentle pinching motion above and below each of the fold lines  and you will feel the pages start to fall into a neater place with each other.
  4. When you have a fairly neat concertina again collapse it up, fold in half and store it away! 
  5. If you are a cleverclogs you may want to print a photo of your pompom and elastic/tie it to your folded concertina so you know what it looks like when fluffed up and if it will work for your next party colour scheme.
    You know it makes sense.


Here are some I made for my friend's baby shower:


And this is one where I forgot to trim the edges into a point before fluffing:
It seems to have had all the fun taken out of it...
 
This is a Pinterest example of the rounded edges.


So there you have it. They really are super simple. No they may not be perfect, but seriously, who is checking for accuracy at your party? 
Enjoy it and create some fabulous statement pieces. You won't regret it!


I am Tracey and I am proud that I can make a cheap, beautiful Tissue Paper Pompom in under 20 minutes with only 3 things!


Monday, 22 July 2013

Update to "Why am I doing this?": Epic Awesomeness sometimes requires unashamed self-promotion

Right, so if you have read my previous post you will know that I am super proud of my monster cake.

It is currently my avatar, but here it is again:

Yes. Super.

And you will also know that I purchased the recipe for this awesome rainbow cake from Janet of Quaint Cakes. Now why I think of Janet first when I think of recipes is that her Facebook page   always has testimonials from people thanking her for a great recipe and showing what they made or how completely enormous their cake was when baked.  Usually I hate being advertised to, but this I strangely like. Real people, real cakes, not all professionals. People just saying "look how your awesome recipe helped me".

So I debate it for a while, who knows maybe MY cake will appear on her page! But what if people are mean about it? What if they don't care?  I take a moment to slap myself and remind myself to seek out the Epic at all times. GO FOR IT YOU WIMP!

I send Janet a thank you note, which was completely sincere, and a picture of the inside and outside of my monster cake

Well, lovely Janet emails to say can she use my testimonial and I say I would be honoured, but think She Probably Says That To Everyone and know there is a good chance I will never see the Monster on her page. 

But Hooray! That afternoon, there he is*:


I was so excited!  And then the "likes" started rolling in.   There were even a few lovely comments.  People really thought he was cool!  At my last check he had 100 likes!  I was so amazed.

Thank you lovely people for making one woman so happy. I know it's just a click on a like button, but it's a click you made, and it's like a little pat on the back. I treasure every one.

Thank you for making my day Epically Awesome.


I am Tracey, I feel Epic.

* As Janet has refilled the photo into a different album all the likes and comments have been lost. I am so glad I took that screen shot or I might think it was all a dream!

Saturday, 20 July 2013

Why am I doing this?

Yes you may ask that question. I think it's understandable.
 
The fact is that I have had an Epic Awesome moment and it's inspiring (well I'm inspired!). And I want you to know that it's not my own doing, but recipes and tutorials from others as well as input from my dear Husband, but I am so proud of it and I hope I can help someone else do something outside their comfort zone too.
 
So!  On with the story!
 
My son is turning 2. He's cute and cheerful and a bit of a monkey and I see this tutorial come into my inbox from www.cakestyle.tv and I think That's It!  A Monster Party For My Little Monster.
 
But now I need a recipe for a rather large sturdy cake.  I could use a box cake mix, nice and safe, although I have watched enough cake icing tutorials to figure out that a firmer cake is more likely to survive my clumsy first goes with a palette knife. So I think of a lady I follow on Facebook and I can't remember how I found her page in the first place, but it's Janet of www.quaintcakes.co.uk  Every day her page is full of photographs and testimonials from happy bakers. 

The Quaint Cakes recipes I was interested in were £1 each and at the time there was a buy 2 get 1 free deal. So I purchased:
  1. DEEP Madeira Cake Recipe Round 8" Tin (Detailed Method, Filling, Levelling & Crumbcoating with Vanilla Frosting - 31 Step-By-Step Photos)
  2. Rainbow Cake (Multi-Coloured and Multi-Layered Round Cake. Recipe, Detailed Method, Levelling and Crumbcoating – 38 Step-By-Step Photos)
  3. GLUTEN AND WHEAT FREE Victoria Sponge Cupcakes *
And I had many an internal argument with myself whether I should make the huge madeira (which genuinely sounds like great fun) or go with the rainbow which is bound to impress kids but will take much longer (I only have one cake tin), involve more work and surely has a higher chance of failure. 

I chat to my husband. He is helpful. "Keep it simple" he says

"RAINBOW CAKE IT IS!" I declare.

"Lovely," he says and turns back to his computer.

He is so wise. I love this man.

So that is now decided. I show him briefly what the monster in the tutorial looks like.
Image from Cakestyle.tv tutorial

"That's what I'm going to make" I say proudly.
"I don't like it" he says
"HUH?" I say irritated and confused especially since we just decided on the rainbow cake theme so easily
"I don't like the eyes on sticks" he says
"Well we don't HAVE to have eyes on sticks" I reply snottily as if that is obvious (it's not).
He starts talking craziness about having the face on the top of the cake and that's when I tune out... Did he not see the tutorial?  Okay so technically he didn't see the tutorial, but we're not reinventing the wheel here. I want to make THAT cake because the video literally tells me how to!
"We'll figure it out as we go" I say sagely while thinking Must Add Wire and Table Tennis Balls to Shopping List Or Maybe Use Cake Pops??


The BIG DAY came around.

The day BEFORE that day I am baking like a lunatic while entertaining the birthday boy and attending my daughter's ballet recital.  One massive cake batter (honestly I didn't think it was going to all fit in the bowl and I only have a little electric hand mixer) and one cake tin which is technically 1 inch larger than the recipe demands when I realise I only have 5 useable colours (Ivory and Black are not going to lend a lot to my rainbow) for a 7-colour rainbow cake.

Not. Going. Smoothly. 

But strangely, and my heartfelt hanks to Janet, I stuck to the recipe and the advice therein and my 5 cakes came out beautifully.

Being an idiot I liked to keep stacking and restacking them while they were cooling to admire my work and imagine my success story and I very nearly broke one of them! Gasp!  With new found respect for fresh cakes and mouthfuls of awesome colourful offcuts I got started.

At 1.30am I had finished piping on the fur. Lucky for me my husband is an owl and that time of night is no stranger to him.

"It's time to put on the face" I say with exhausted dread, "What shall I do?"
"Well, where is the mouth going to be?"
"Hereish" I say gesticulating madly around the side of the cake somewhere.
"Do that first, then call me."

He's a pro in a crisis, my husband. I do as he says.

Rolled red fondant is shaped in a big open smile (freehand with a knife), now I need white teeth. Unfortunately for the sake of some tiny white teeth I am going to have to open a whole huge pack of white fondant which seems so wasteful.

ThinkThinkThink.
Marshmallows! 
Snip snip snip and press and holy crumbs they actually just stick! And they look all three dimensional and cool. Big fat Awesome points to me.

Time to call in my brainstorming team.
"What do you think about the eyes?"
"Well, I don't like them on sticks"
"Yes, you said."
"Maybe just on top? Can you show me?"
I hover my table tennis balls (washed and drawn on with permanent marker) around the top front area of the cake
"Exactly." he says, "I like it"
"Boring" I think loudly, but actually say "What about some horns?"
"Sounds good."
Righto!  Off we go.
Two tiny red horns (because we have established I hate to waste, and red is all I have open aside from the marshmallows)
Squish, Squish eyeballs are on. Plop, shuffle a bit, plop and push and the little horns are on and My God. I Am A Genius.
And So Tired.

So I take a photo because if all the hair falls off in the night and I am left with the Baldy Cake I would not be surprised. Then I head off to bed.

On birthday party morning I open the fridge with Clever Daughter in tow and we gasp and laugh because there on the shelf is the head of a monster and he is Super Cool.  She keeps going back to look at him "one more time" which is so flattering but eventually making me pretty nervous.

Well the party came and went. The weather was glorious, the company wonderful and the cake rocked. My baby boy was transfixed when he was sat in front of it to blow out the candles.

A rainbow cake is a special thing because people get all excited when you finally cut a piece out. I think there was some Oohing and Aaahing but in my head it was a standing ovation. I Bloody Made This. Me! (with help from others) For My Little Boy.

So without further ado, here it is:


Isn't he a charmer?
And here are his insides:


And so delicious there was only 2 pieces left of what must have been about 2.5kgs of cake.

A brilliant day for my brilliant boy.


I am Tracey, Let's get Epic.


*Because my lovely neighbour has coeliac disease and I might like to make and have a cupcake with her now and then!